Business
Come into my studio…
Oct
… and have a peek (sans spiders and flies).
“If you can identify the conditions that allow art to flourish,
you can work toward creating
equivalent conditions in your own world.”
~Ted Orland, Exhibition 36
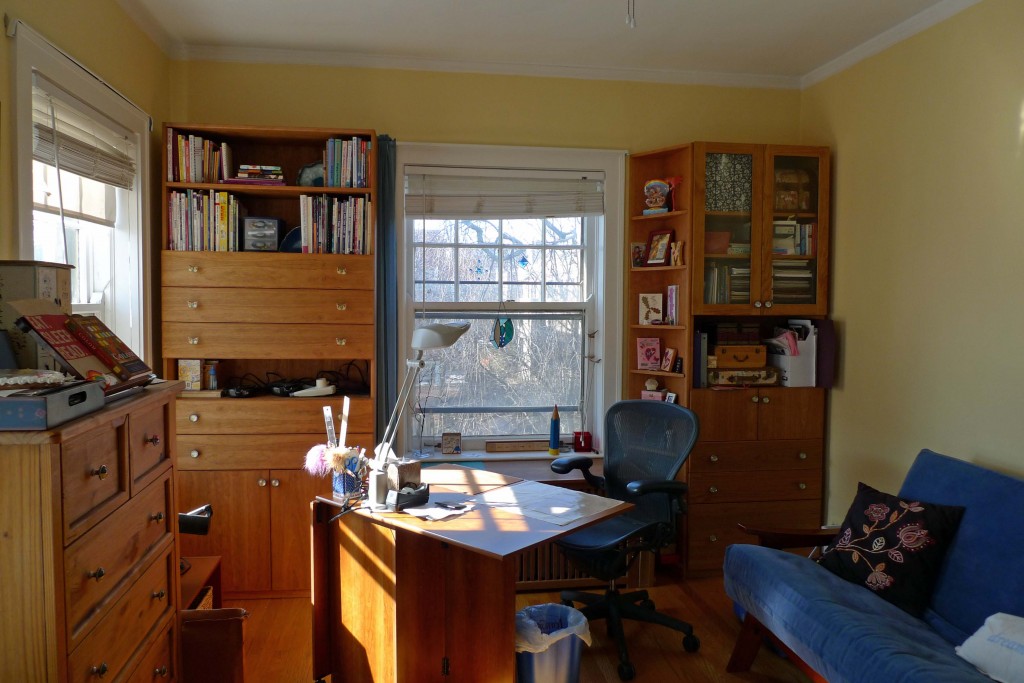
Now that my supplies are (temporarily) organized, let me give you a studio tour.

The table-as clear as it gets:

My encaustic setup:

A dresser (from Overstock a few years ago) holding paints, leaves, rarely used embossing and mosaic tools, blank cards, wool and shipping materials (it has more clutter on top now, too):

Custom cabinets:

The studio cabinets were custom made two years ago. My first true craft investment was the sewing table which would roll around my living room. Jo Packham’s books Organizing your Craft Space and Where Women Create had me dreaming of the perfect studio space.
“You don’t need an elaborate studio;
you don’t need incredible equipment,
and you don’t have to wait for that moment
where everything seems perfect,
because it will never be perfect.
You just have to jump in and make do.
…
You just jump in and make it, and if you work at those ideas,
no matter what materials, and what equipment you have,
you can make incredible things that people will love.”
~ Roberta Williamson, Making a Living in Crafts
My first set of stackable-foldout shelves when I moved in 2007.

After the move I designated a studio that occasionally doubles as a guest room. By June 2009 I had upgraded to a shelf-in-a-box from Lowe’s:

After a lot of research (and not finding those awesome antique architect’s drawers featured in magazines) I assigned my annual bonus to a studio budget. My design:

The shop’s rendering:

The project included radiator covers for my home, too, and the company I used shall not be named because both timing and dimensions were “misunderstood”. In spite of the frustration, the end result is nice and functional.
Waiting:


Installation day:

Custom-ordering furniture has a bit of a grown-up feel to it. Picking out the hardware (an Anthropologie splurge) was fun.


“Surrounding yourself with beautiful objects and
appreciating the beauty around you makes life richer.”
~ Sandra Magsamen, Cash for your Crafts
Tips for custom furniture orders:
- Measure multiple times: even though I measured twice and the salesperson measured thrice, the end product still needed to be adjusted
- Make sure design changes don’t change the scale: My shelves were made taller than my original design, which ended up making the drawers slightly taller too
- Work directly with a carpenter if possible: because a sales rep took my order the carpenter was not aware of the use of my shelving unit, and he made some drawer adjustments based on his perception (that the drawers were “unusable” with my narrow specifications).
- Account for all electrical outlets and your baseboards: I had a custom-cut hole for an electrical outlet.
- Count on everything taking longer: my 6-week project took 9 weeks.
I hope you enjoyed seeing where I work. Where do you create? Feel free to link to your studio spaces in the comments below.